You don’t need pastry school or fancy tools to make desserts look stunning. A few smart techniques—and a little confidence—can turn even the simplest treat into something bakery-worthy. Whether you’re dressing up cupcakes for a party or giving a cake its final flourish, dessert decorating is all about balance, texture, and intention.
Let’s break it down step by step so you can decorate desserts like a pro, even if you’re starting from scratch.
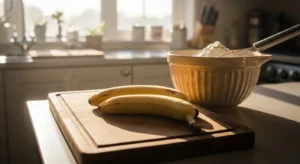
Start With a Clean, Simple Base
Every great dessert decoration begins with a solid foundation. If your base looks messy, no amount of sprinkles will save it.
Before decorating, make sure:
- Cakes are fully cooled (warm cakes = melting frosting)
- Cupcakes have flat or gently domed tops
- Cookies are evenly baked and cooled
- Frosting or glaze is smooth and crumb-free
Pro tip: If you’re frosting a cake, apply a thin “crumb coat” first, chill it for 15–20 minutes, then add your final layer. This instantly makes your dessert look more polished.
Simple bases create space for decorations to shine.
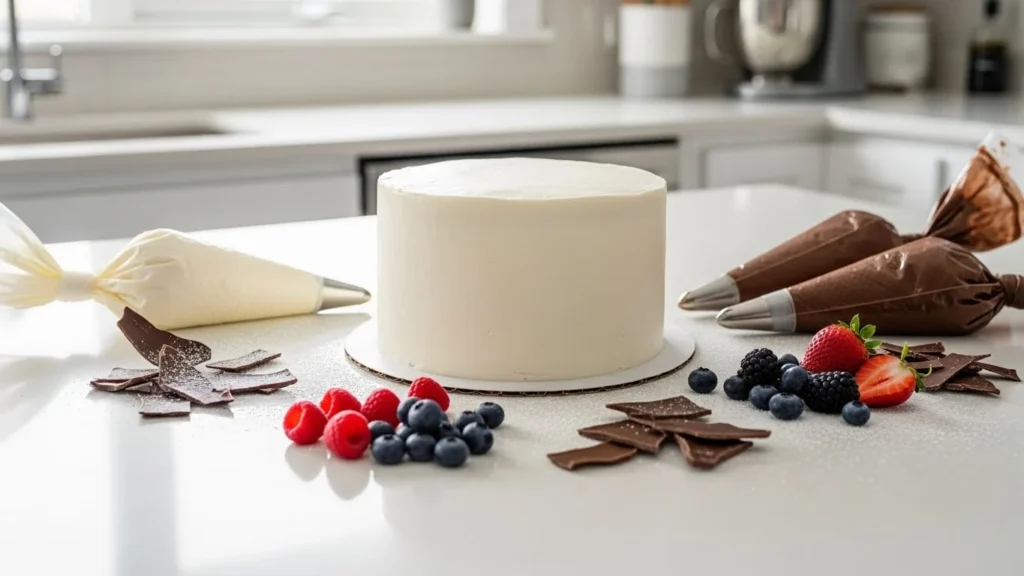
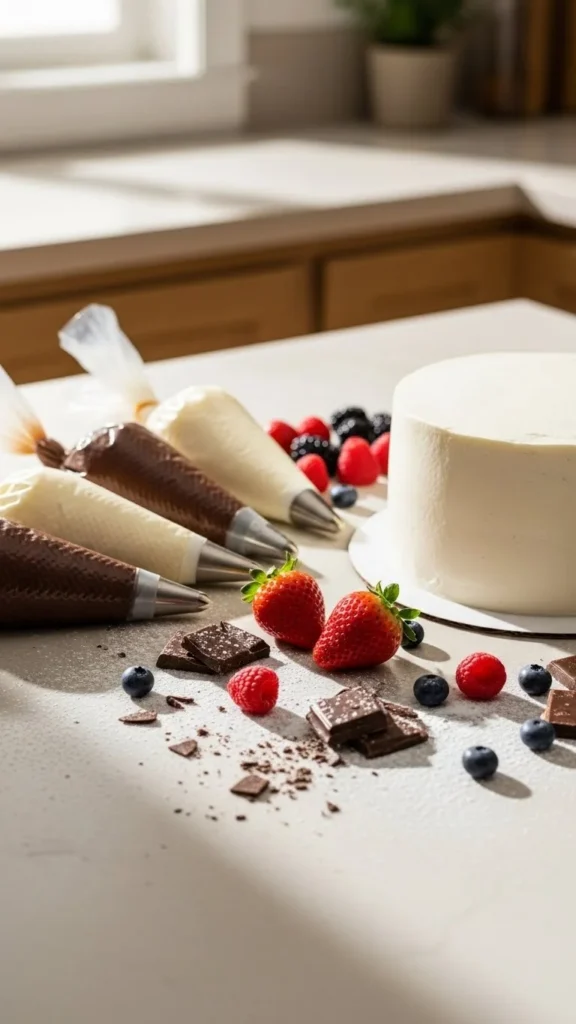
Master a Few Basic Decorating Tools
You don’t need a drawer full of gadgets. A few essentials go a long way.
Focus on these basics:
- Piping bags (or zip-top bags with the corner snipped)
- One or two piping tips (star and round are most versatile)
- Offset spatula or butter knife
- Small sieve for powdered sugar or cocoa
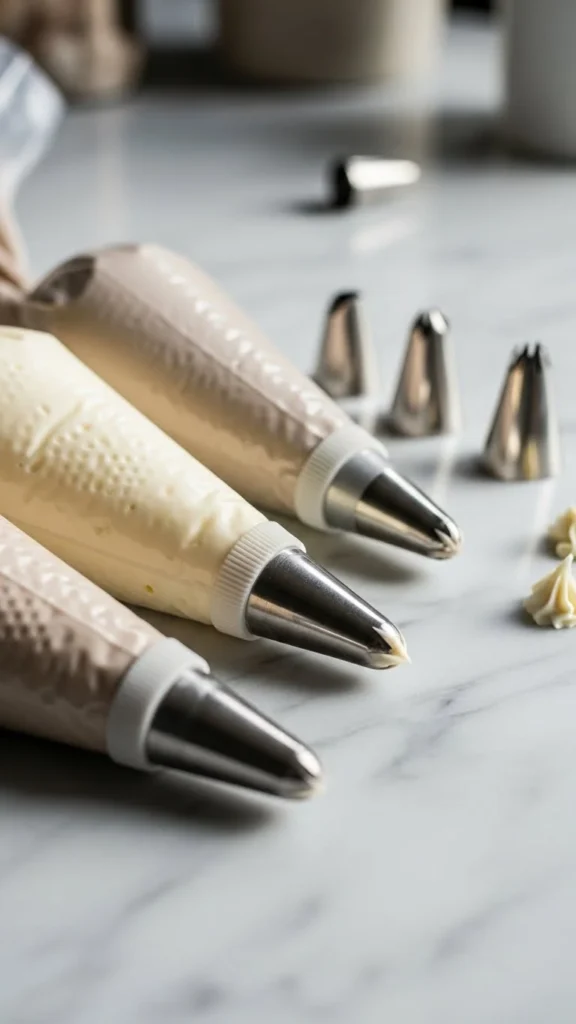
Practice pressure control with piping—steady pressure creates clean lines, while uneven squeezing causes breaks and blobs. Start slow. Speed comes later.
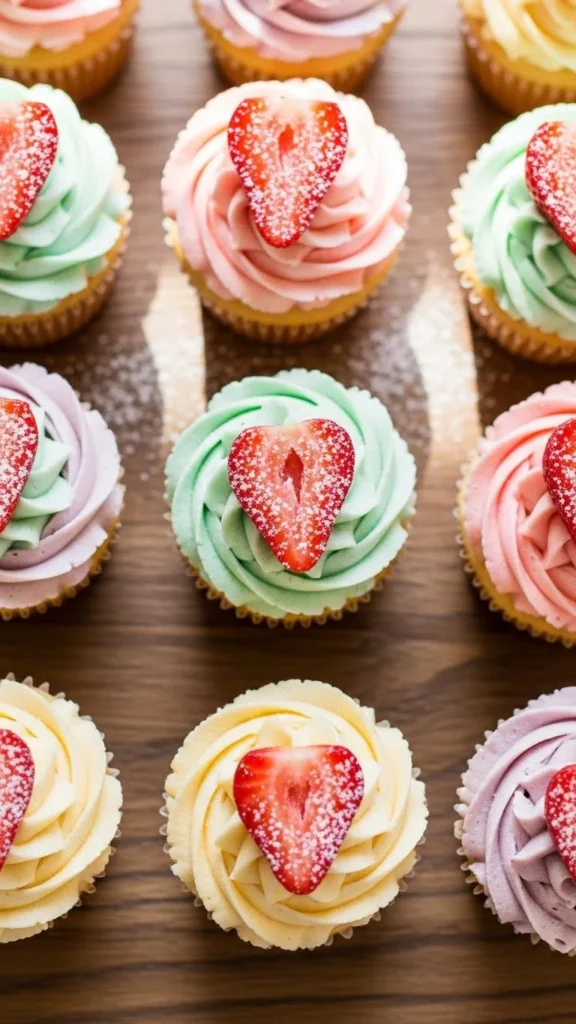
Use Color With Intention
Color is one of the fastest ways to make desserts look professional—or amateur if overdone.
Keep these rules in mind:
- Stick to 2–3 colors max
- Use neutral bases (white, cream, chocolate) with accent colors
- Choose muted or pastel tones for a high-end look
- Match colors to the season or occasion
Instead of bright food coloring, try:
- Cocoa powder for warmth
- Freeze-dried fruit powder for natural color
- Edible gold dust for subtle glam
A little color goes a long way. Restraint is what separates “cute” from “professional.”
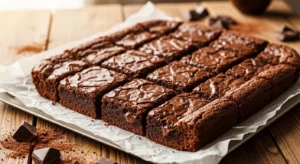
Play With Texture, Not Just Toppings
Professional decorators think in layers and textures, not just sprinkles.
Mix and match elements like:
- Smooth frosting + crunchy nuts
- Glossy glaze + matte powdered sugar
- Soft whipped cream + crisp chocolate shards

Texture adds depth and makes desserts visually interesting, even when using simple ingredients.
Learn a Few Go-To Decorating Styles
Instead of trying everything, master a few reliable styles you can reuse.
Rustic & natural
- Swirled frosting
- Fresh fruit
- Herbs like mint or rosemary
Minimal & modern
- Smooth frosting
- Single accent (gold leaf, chocolate line)
- Clean edges
Bakery-style
- Piped borders
- Rosettes
- Coordinated sprinkles
Once you have 2–3 styles in your pocket, decorating becomes faster and less stressful.
Finish With a Strong Focal Point
Every decorated dessert needs one main moment—the thing your eye lands on first.
Great focal points include:
- A central fruit cluster
- A tall swirl of frosting
- A dramatic drip
- A single decorative topper
Avoid spreading decorations evenly everywhere. Intentional placement looks far more professional than “a little of everything.”
Plate and Present Like a Pro
Decoration doesn’t stop at the dessert itself.
Before serving:
- Wipe plates clean
- Add a light dusting of powdered sugar or cocoa
- Use white or neutral plates to make colors pop
- Leave negative space—crowding kills elegance
Even simple desserts feel elevated when presented thoughtfully.
Final Takeaway
Decorating desserts like a pro isn’t about perfection—it’s about clarity, balance, and confidence. Start simple, use color and texture wisely, and let one beautiful detail take center stage. With a few smart techniques, your homemade desserts can look just as impressive as they taste.
Save this guide for your next baking session, and have fun turning everyday treats into edible showstoppers 🍰✨