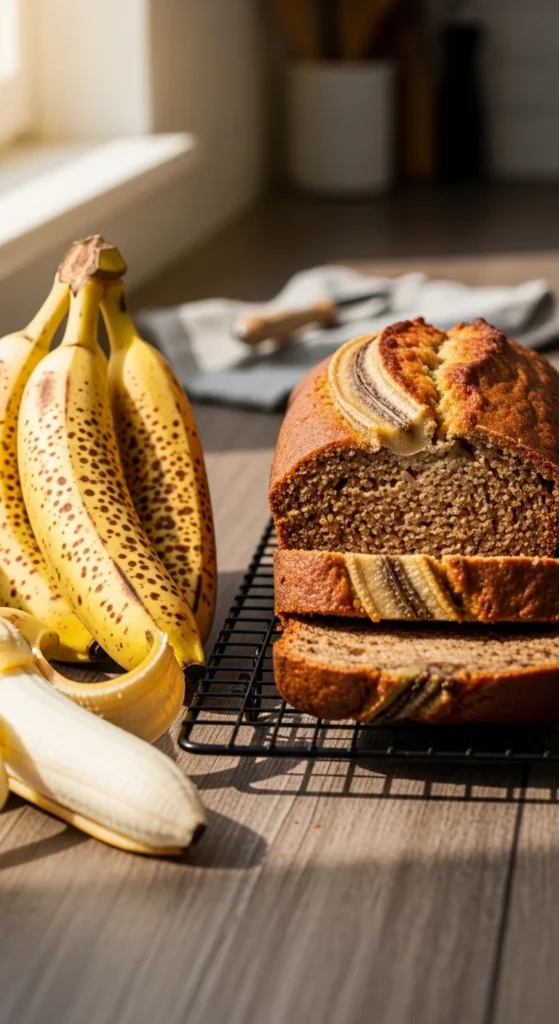
There’s something magical about pulling a warm loaf of banana bread from the oven — the caramel-banana aroma, the golden crack on top, the promise of a soft, moist crumb inside. And the truth is? From-scratch banana bread often tastes better than bakery versions when you follow the right technique.
No mixes. No shortcuts. Just pantry staples, ripe bananas, and a few pro baker moves that guarantee success.
Let’s make the loaf that ruins store-bought forever.
Why From-Scratch Banana Bread Wins
The best homemade banana bread focuses on texture control and flavor layering.
What makes it bakery-worthy:
- Overripe bananas for natural sweetness
- Creamed butter and sugar for a lighter crumb
- Brown sugar for caramel depth
- Gentle folding to keep it tender
- Proper bake and cool timing
Once you master these, dense or dry banana bread becomes a thing of the past.
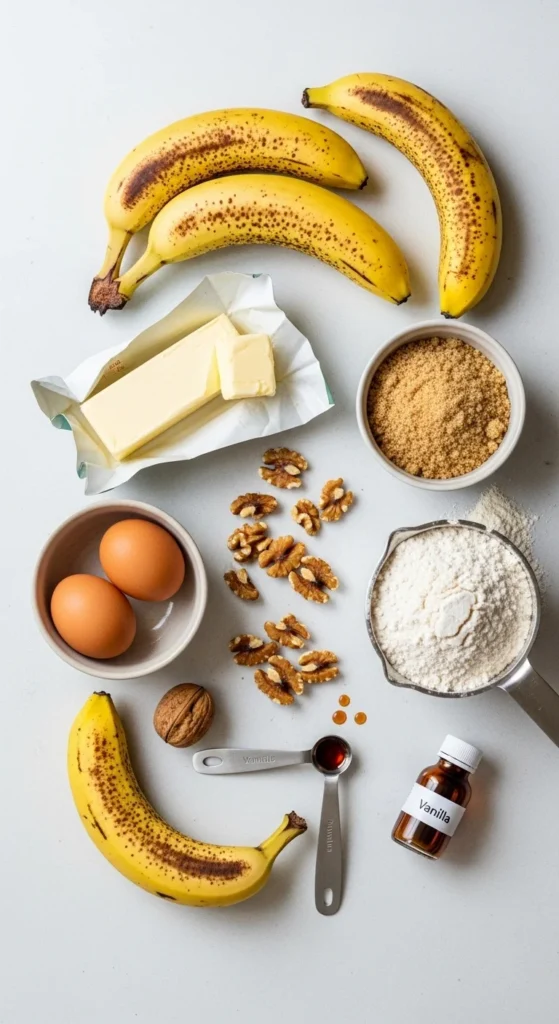
Simple Pantry Ingredients
This classic recipe makes one perfect 9×5 loaf.
Wet ingredients
- ½ cup unsalted butter, room temperature
- ¾ cup brown sugar (packed)
- 2 large eggs, room temperature
- 1½ cups mashed overripe bananas (3–4 medium)
- 1 teaspoon vanilla extract
- ¼ cup sour cream or yogurt
Dry ingredients
- 2 cups all-purpose flour (spooned and leveled)
- 1 teaspoon baking soda
- 1 teaspoon salt
- 1 teaspoon cinnamon
- Pinch nutmeg (optional but excellent)
Optional mix-ins
- ¾ cup toasted chopped walnuts or pecans
- ¾ cup dark or semi-sweet chocolate chunks
- ½ cup small banana chunks (for texture pockets)
Step 1: Cream Butter and Sugar Properly
This is the bakery secret step many quick recipes skip.
- In a large bowl, beat room-temperature butter and brown sugar
- Mix 3–5 minutes until light and fluffy
- Scrape down the bowl halfway through
Why it matters:
Creaming incorporates air, giving banana bread a softer, lighter crumb instead of a dense brick.
💡 Texture cue: The mixture should look pale and slightly fluffy, not greasy.
Step 2: Add Eggs One at a Time (No-Curdle Method)
Now build the wet base carefully.
- Add eggs one at a time
- Beat well after each addition
- Scrape bowl between additions
- Mix in vanilla
This keeps the batter smooth and prevents separation.
Room temperature rule:
Cold eggs can cause the butter to seize — set them out 20–30 minutes ahead.
Step 3: Mash Bananas for Maximum Flavor
Bananas are the star — treat them right.
- Mash overripe bananas with a fork
- Aim for mostly smooth with small lumps
- Stir mashed banana and sour cream into the batter
Ripeness guide:
- Speckled brown = good
- Mostly black = best flavor
- Yellow = not ready yet
💡 Flavor boost: Reserve a few small banana chunks and fold in later for juicy pockets.
Step 4: Whisk Dry Ingredients Separately
In another bowl, whisk:
- Flour
- Baking soda
- Salt
- Cinnamon and nutmeg
Why this step matters:
It distributes the leavener evenly so the loaf rises uniformly.
Measuring warning (very important):
- Spoon flour into the cup
- Level with a knife
- Never scoop directly
Too much flour = dry banana bread.
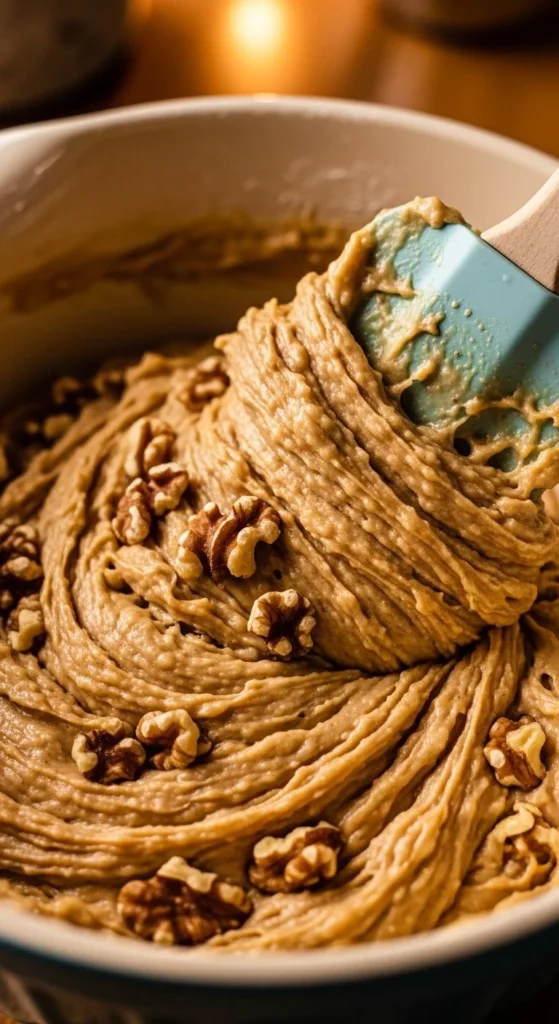
Step 5: Fold Gently (The Tender Crumb Rule)
Now combine wet and dry.
- Add dry ingredients to wet
- Fold gently with a spatula
- Stop after 10–15 strokes max
👉 The batter should look slightly lumpy
👉 Do NOT mix until perfectly smooth
Overmixing develops gluten and causes dense texture.
If using add-ins:
- Fold walnuts or chocolate chunks in last
- Use just a few gentle turns
Step 6: Prep the Pan for Easy Release
Use a standard 9×5 metal loaf pan.
Best method:
- Lightly grease the pan
- Line with parchment sling
- Pour in batter and smooth top
Optional bakery finish:
- Sprinkle extra nuts or chocolate on top
- Or add a sliced banana down the center
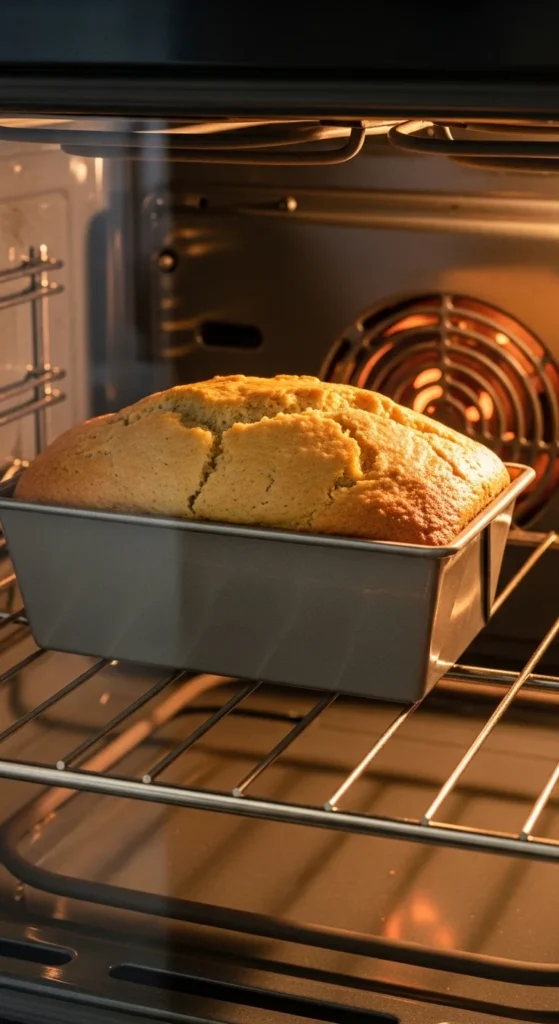
Step 7: Bake Low and Steady
Bake at:
👉 350°F (175°C)
👉 55–70 minutes
Doneness test
Insert a toothpick into the center:
- Moist crumbs = perfect
- Wet batter = needs more time
- Completely dry = slightly overbaked
If top browns too fast:
- Loosely tent with foil after about 40 minutes
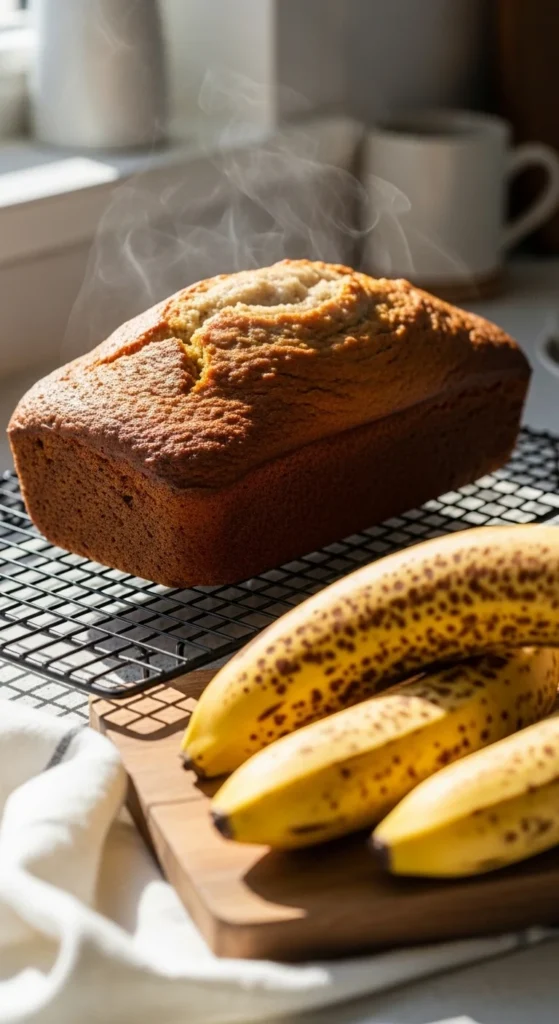
Step 8: Cool the Right Way (Prevents Gummy Texture)
Cooling is part of baking — don’t skip it.
- Cool in pan for 15 minutes
- Lift out using parchment
- Cool on rack at least 30 minutes
Why this matters:
- Steam finishes the crumb
- Prevents soggy bottom
- Slices stay clean and neat
Flavor Variations to Try
Once you nail the classic, experiment.
Chocolate chunk swirl
- Fold in dark chocolate chunks
- Sprinkle flaky salt on top
Toasted nut crunch
- Toast walnuts 5–7 minutes before adding
- Deepens nutty flavor
Extra moist combo
- Use half butter + 2 tablespoons oil
- Creates ultra-soft texture
Warm spice loaf
- Add extra pinch nutmeg + cinnamon
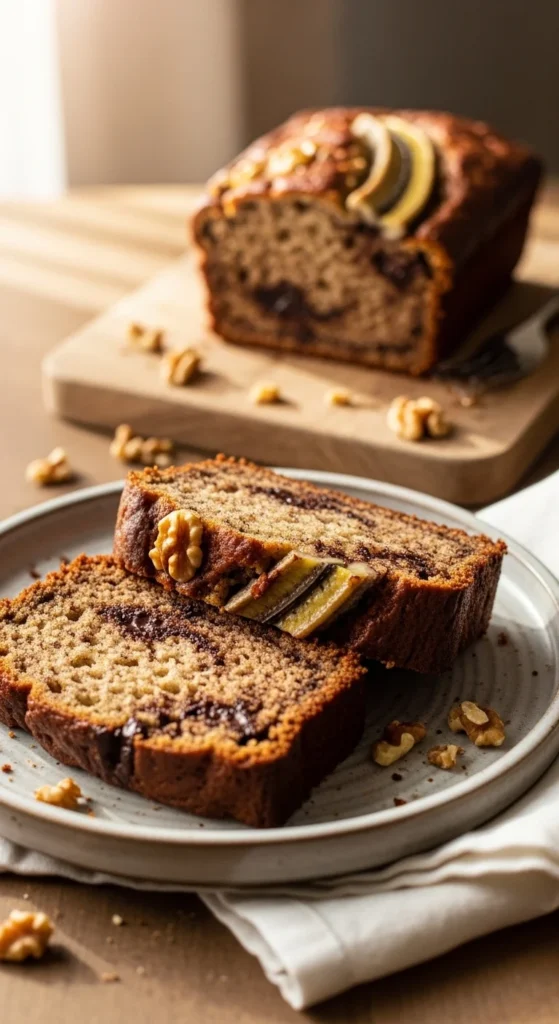
Final Takeaway
From-scratch banana bread isn’t complicated — it just rewards good technique. Remember the golden rules:
- Use very overripe bananas
- Cream butter and sugar properly
- Measure flour carefully
- Fold gently (don’t overmix)
- Bake until moist crumbs appear
- Cool before slicing
Follow these, and your homemade banana bread will come out better than bakery every single time.
✨ Save this recipe for later and pin it for your next batch of overripe bananas!