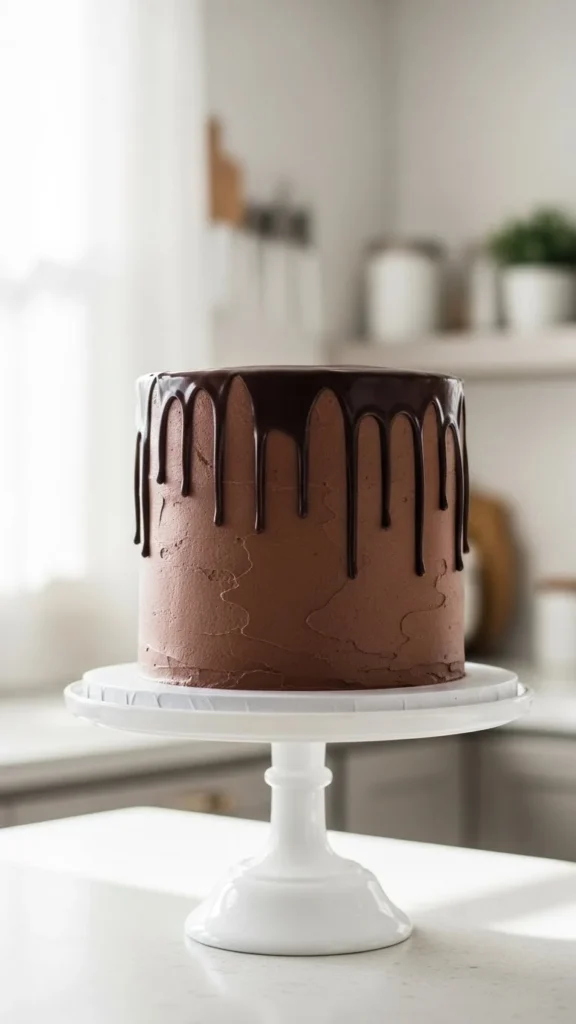
A chocolate drip cake looks dramatic, bakery-level, and honestly a little intimidating—but it’s much easier than it looks. Once you understand the timing, temperature, and texture, you can create that smooth, glossy drip that slowly cascades down the sides like magic. Whether you’re baking for a birthday, a celebration, or Pinterest content, this guide breaks everything down step by step so you can nail it with confidence.
Start With the Right Cake Base
A perfect drip starts with a stable cake. If the cake itself is uneven, soft, or warm, the drip will never behave the way you want.
Here’s what works best:
- A chilled cake (very important)
- Firm layers like chocolate, vanilla, or red velvet
- Buttercream or ganache frosting with a smooth finish
After frosting your cake, place it in the fridge for at least 30–45 minutes. The cold surface helps control the drip and prevents the chocolate from sliding all the way down.
Quick tip: If your finger leaves a dent in the frosting, the cake is not cold enough yet.
Choose the Right Chocolate for Dripping
Not all chocolate melts the same way, and that matters for a clean drip.
Best options:
- Semi-sweet chocolate chips
- Dark chocolate bars (50–60% cocoa)
- Milk chocolate for a lighter look
Avoid candy melts if you want a classic, glossy finish—they set fast and can look thick.
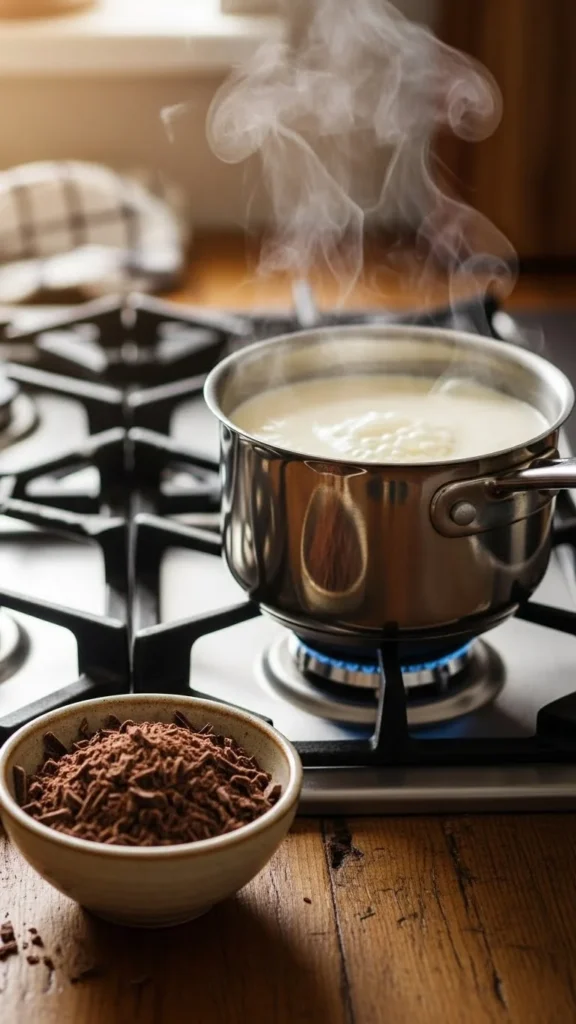
Make a Smooth Chocolate Ganache
Ganache is the secret to a perfect drip. The goal is a pourable texture—not too runny, not too thick.
Basic ganache ratio:
- 1 cup chocolate
- ½ cup heavy cream
Steps:
- Heat the cream until it’s hot but not boiling.
- Pour it over the chocolate.
- Let it sit for 1–2 minutes.
- Stir slowly until smooth and glossy.
Let the ganache cool for 10–15 minutes. It should drip off a spoon slowly, not rush or clump.
If it’s too thick: Add a tablespoon of warm cream.
If it’s too thin: Let it cool a bit longer.
Test the Drip Before You Commit
Never drip straight onto the cake without testing. This small step saves so much frustration.
Try this:
- Drip a spoonful down the side of a cold bowl or glass.
- Watch how fast it moves.
- Adjust thickness if needed.
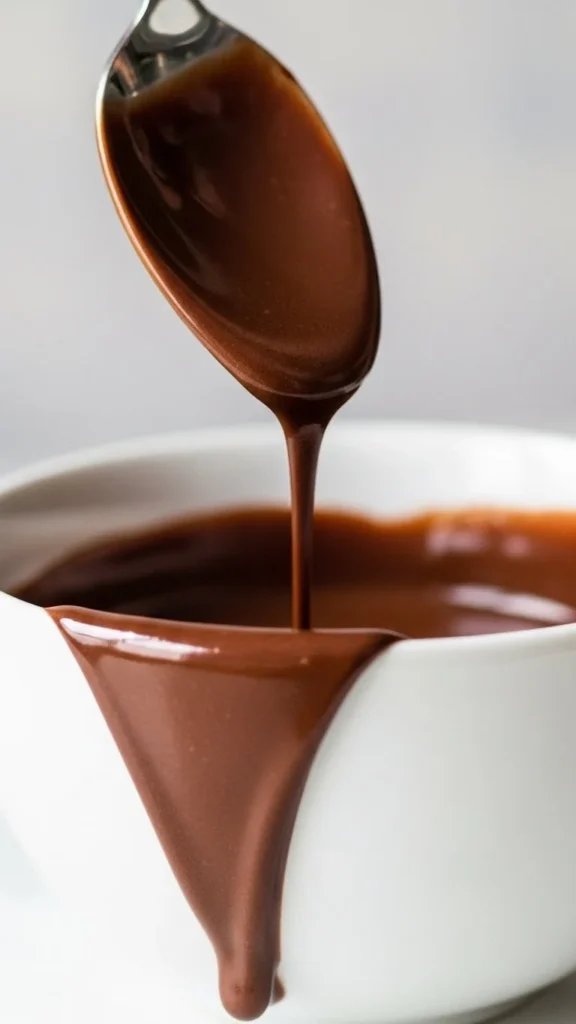
You’re aiming for drips that stop naturally around halfway down the cake—not racing to the bottom.
Apply the Chocolate Drip Like a Pro
Now comes the fun part.
How to do it:
- Use a spoon, squeeze bottle, or piping bag.
- Start at the edge of the cake.
- Add small amounts and let gravity do the work.
Work slowly and move around the cake one drip at a time. Once the edges are done, pour the remaining ganache on top and gently spread it toward the edges.
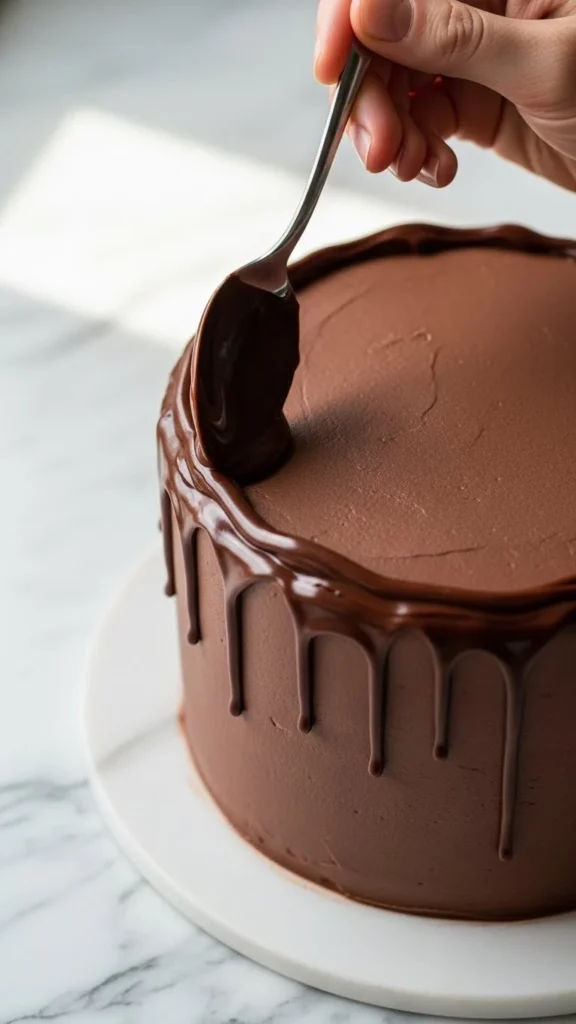
Important: Do not overwork it. Touching the drips too much can make them uneven.
Fix Common Chocolate Drip Problems
Even experienced bakers run into issues. Here’s how to fix them fast:
Drips too long
- Ganache is too warm or thin
- Chill the cake more and thicken the ganache slightly
Drips too short
- Ganache is too thick
- Warm it gently and test again
Matte or dull finish
- Chocolate overheated
- Stir gently and avoid boiling cream
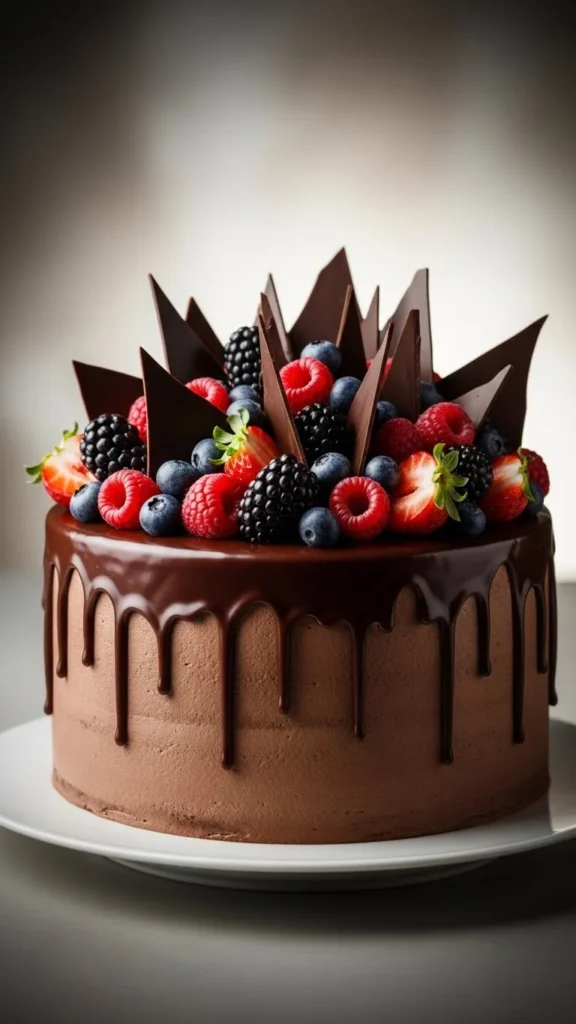
Decorate While the Drip Is Fresh
Chocolate drips set quickly, so decorate right after.
Great topping ideas:
- Chocolate shards
- Fresh berries
- Mini cookies or truffles
- Sprinkles or gold accents
This is your chance to personalize the cake and make it feel extra special.
Final Tips for Picture-Perfect Results
- Always chill between steps
- Work in good lighting so you can see the drip clearly
- Keep paper towels nearby for quick cleanup
- Take photos before slicing—the drip looks best intact
Final Takeaway
A perfect chocolate drip cake is all about temperature, patience, and control—not fancy tools or advanced skills. Once you understand how ganache behaves, you can create bakery-style cakes at home that look incredible from every angle.
Save this guide for later, and the next time you need a show-stopping cake, you’ll know exactly what to do 🍰✨