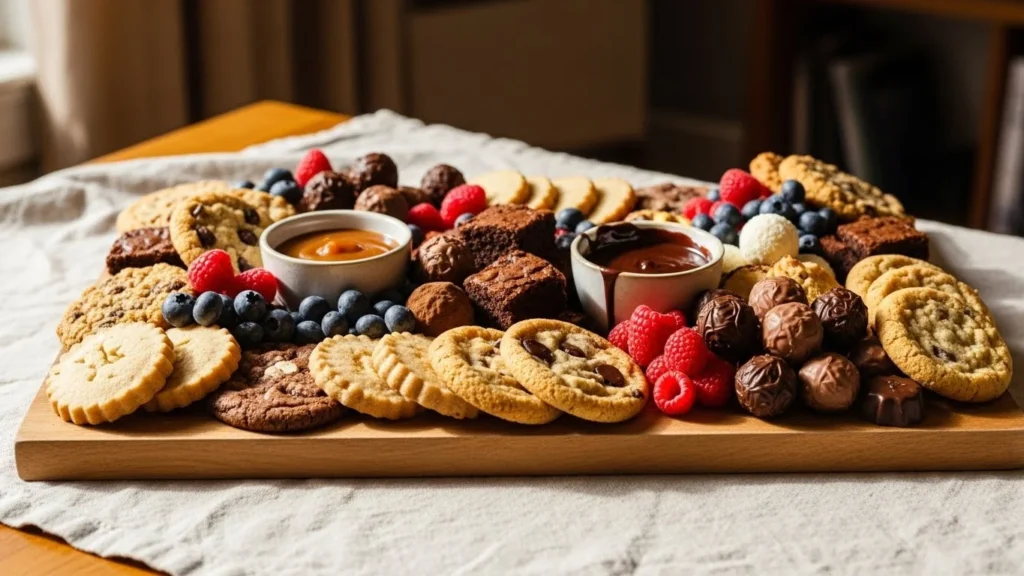
Scroll-stopping dessert boards aren’t just about sweets — they’re about vibes. A Pinterest-ready dessert board feels effortless, abundant, and beautifully styled, like something you’d save instantly and come back to later.
The good news? You don’t need fancy skills or expensive ingredients to make one that looks amazing. You just need a plan, a little balance, and smart styling.
Let’s break it down step by step so your dessert board looks just as good on Pinterest as it does in real life.
Start With the Right Board (Your Foundation Matters)
Your board sets the tone before the desserts even show up.
Think of it like the background of a photo — simple, neutral, and warm.
Great options include:
- Wooden cutting boards (round or rectangular)
- Marble slabs for a clean, modern look
- Neutral serving trays layered together
- Baking sheets lined with parchment for casual boards
Pinterest favors boards that:
- Have visible texture (wood grain, marble veins)
- Are large enough to feel abundant
- Leave a little breathing room around the edges
💡 Tip: Bigger boards photograph better. Empty space makes desserts look intentional, not crowded.
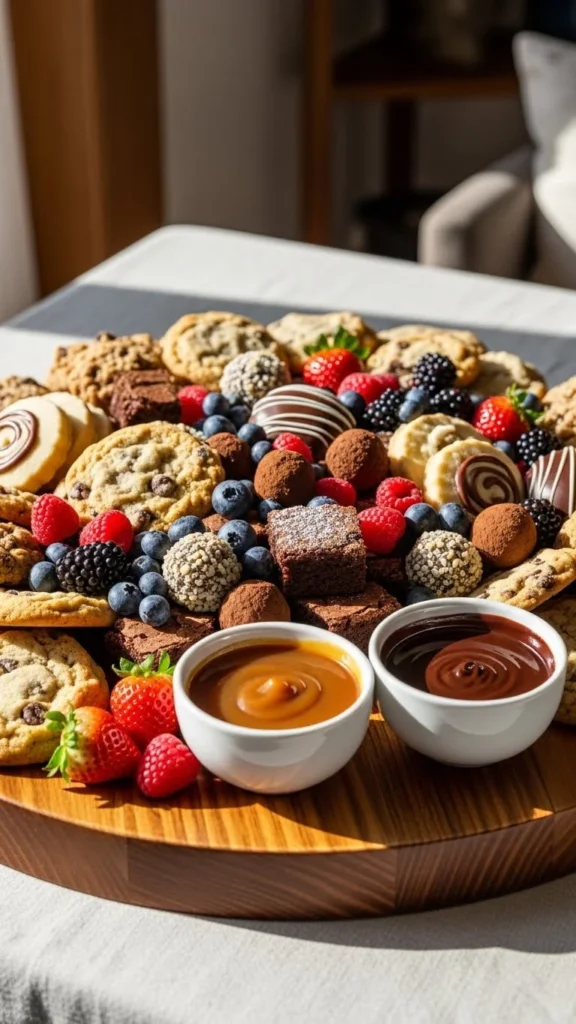
Choose a Balanced Dessert Mix (Variety Is Everything)
A Pinterest-ready dessert board always includes contrast. Different shapes, colors, and textures make the board visually interesting.
Aim for 4–6 dessert types:
- Soft: brownies, cake slices, cupcakes
- Crunchy: cookies, biscotti, waffle cones
- Creamy: cheesecake bites, mousse cups, truffles
- Fresh: berries, grapes, citrus slices
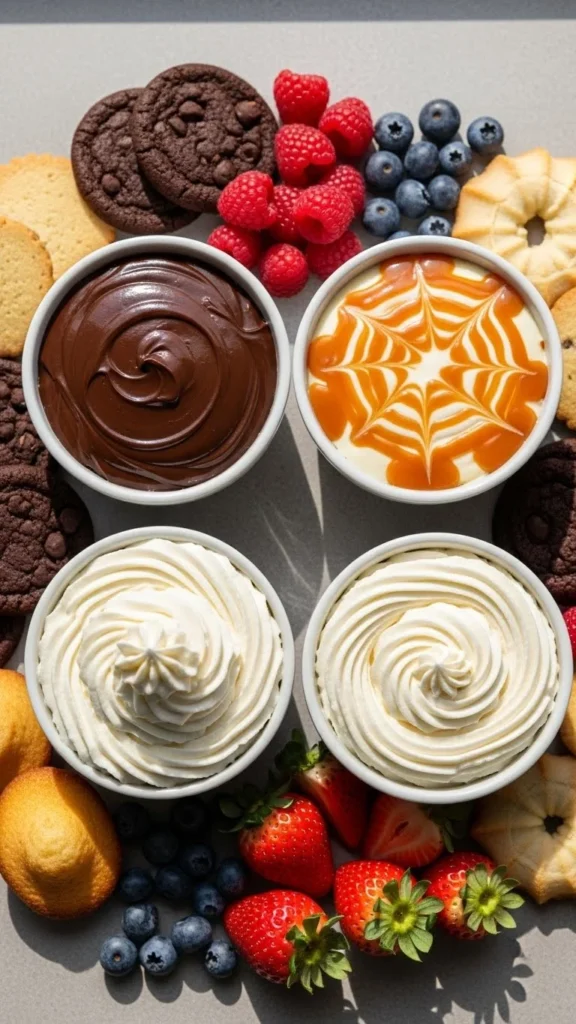
- Dippable: chocolate sauce, caramel, whipped cream
Stick to a loose color palette:
- Chocolate + cream + berries
- Pastels for spring
- Warm browns and golds for cozy boards
This makes your board feel curated — not chaotic.
Build the Board in Layers (The Pinterest Trick)
Don’t place everything flat at once. Pinterest boards pop when there’s height and flow.
Here’s the layering order:
- Start with bowls (dips and sauces first)
- Add larger desserts (cakes, brownies, stacked cookies)
- Fill gaps with fruit and small treats
- Finish with crumbs and scatter (nuts, chocolate shavings)
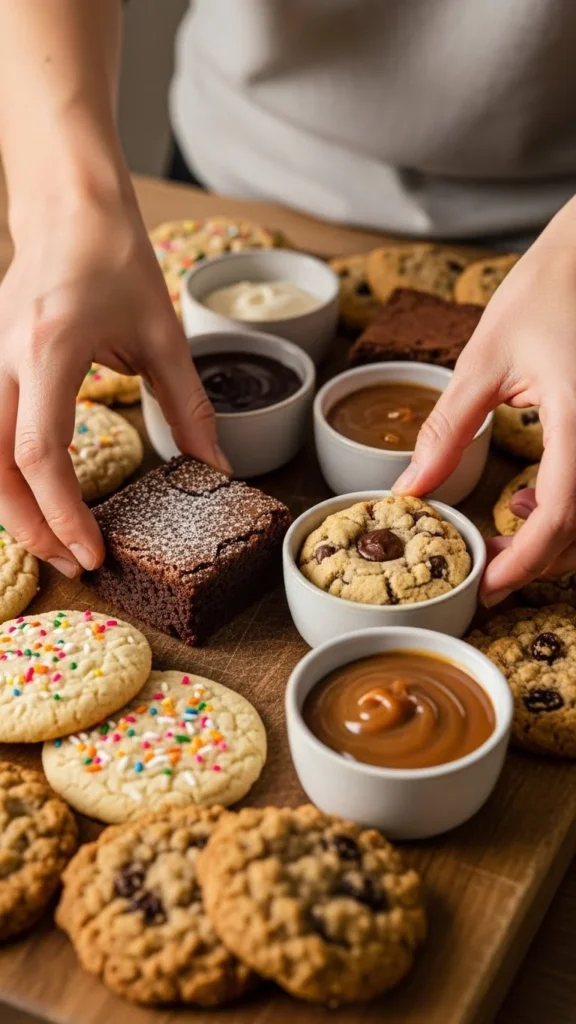
Angle cookies slightly. Stack a few treats. Let things overlap naturally.
Perfect symmetry looks staged. Pinterest loves “casually styled” perfection.
Use Garnishes That Photograph Beautifully
Garnishes aren’t extra — they’re essential.
Simple additions that instantly upgrade photos:
- Fresh berries or figs
- Mint leaves or edible flowers
- Powdered sugar dusting
- Chocolate curls or shavings
- Crushed nuts sprinkled lightly
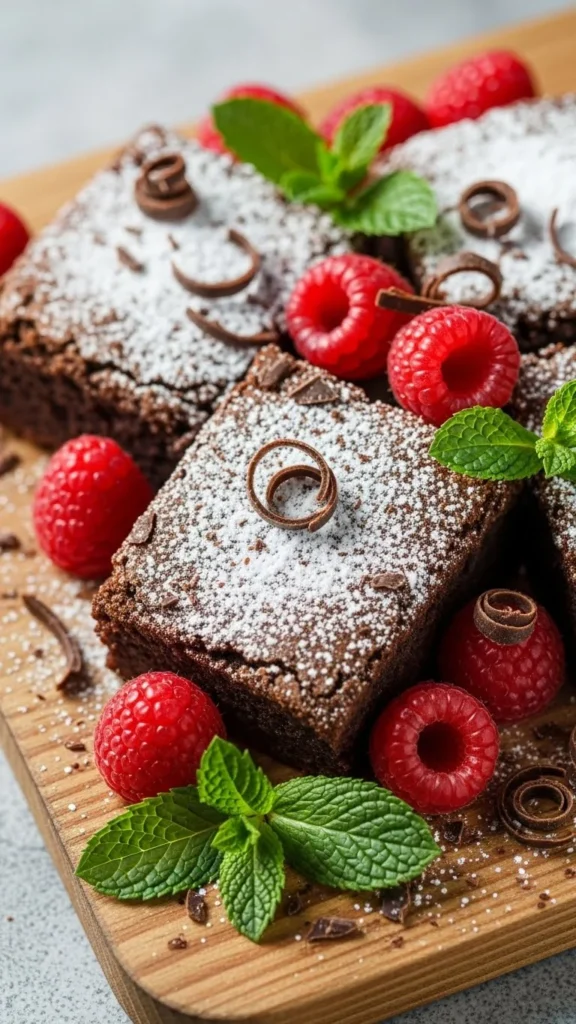
Keep garnishes light and intentional. A little goes a long way.
Style for Pinterest Photos (Not Just Serving)
Once your board is built, pause before serving and style it for photos.
Pinterest-friendly photo tips:
- Use natural window light
- Shoot from overhead and 45-degree angles
- Keep backgrounds neutral (linen, wood, marble)
- Avoid harsh shadows and overhead lights
Add subtle lifestyle touches:
- A linen napkin
- A serving knife with crumbs
- A hand reaching in for a cookie
- A coffee mug or tea cup nearby
These details make your image feel lived-in — and saved.
Make It Feel Abundant, Not Overcrowded
This is where many boards go wrong.
A Pinterest-ready dessert board should feel:
- Full
- Generous
- Easy to explore
But not messy.
If it feels crowded:
- Remove one dessert type
- Add more space between bowls
- Let the board edges show
Less stress, more flow.
Final Touch: Think Like a Pinner
Before you call it done, ask yourself:
- Would I stop scrolling for this?
- Does it feel warm, cozy, or celebratory?
- Can someone easily recreate it?
If the answer is yes — you nailed it.
A great dessert board isn’t about perfection. It’s about inviting people in, visually and emotionally.
✨ Save this guide for later and use it the next time you want a dessert board that looks Pinterest-perfect every single time.