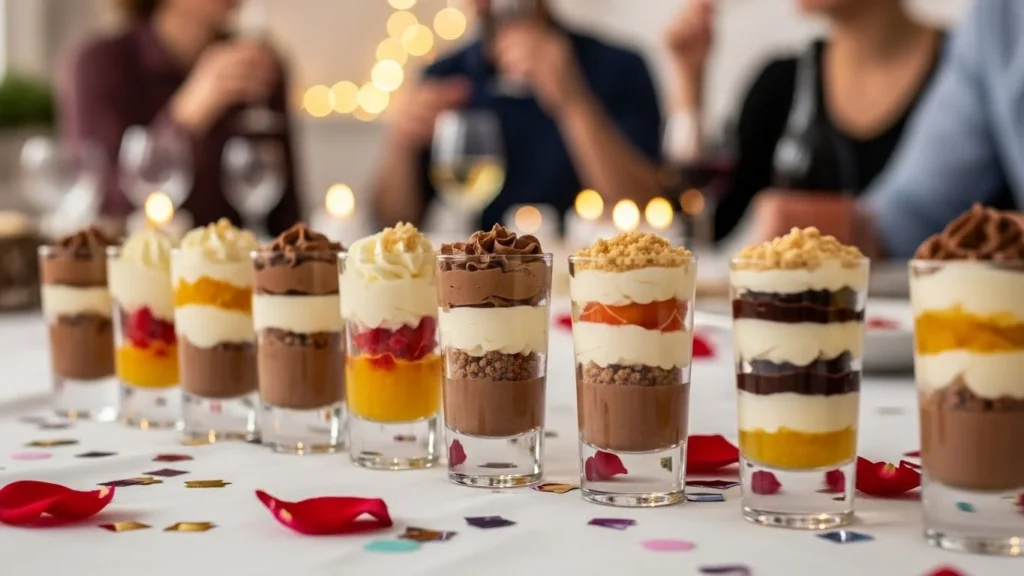
Dessert shooters are tiny, layered treats that instantly make any party feel more special. They’re fun to look at, easy to serve, and perfect for guests who want “just a little something sweet” without committing to a full slice of cake. Best of all, you don’t need fancy tools or baking skills to make them — just smart layering and good flavors.

If you’ve ever wondered how to make dessert shooters that look bakery-worthy but feel totally doable at home, this guide breaks it all down step by step.
What Are Dessert Shooters (and Why Everyone Loves Them)?
Dessert shooters are single-serve desserts layered in small glasses or cups. They’re designed to be eaten with a spoon and usually include a mix of creamy, crunchy, and flavorful layers.
Why they’re perfect for parties:
- No slicing or plating required
- Easy to make ahead
- Look impressive with minimal effort
- Guests can try more than one flavor
They work for birthdays, holidays, bridal showers, game nights, and even casual get-togethers.
Choose the Right Cups and Tools
Before you start layering, decide what you’ll serve them in. Clear containers are key — the layers are the star.
Popular options:
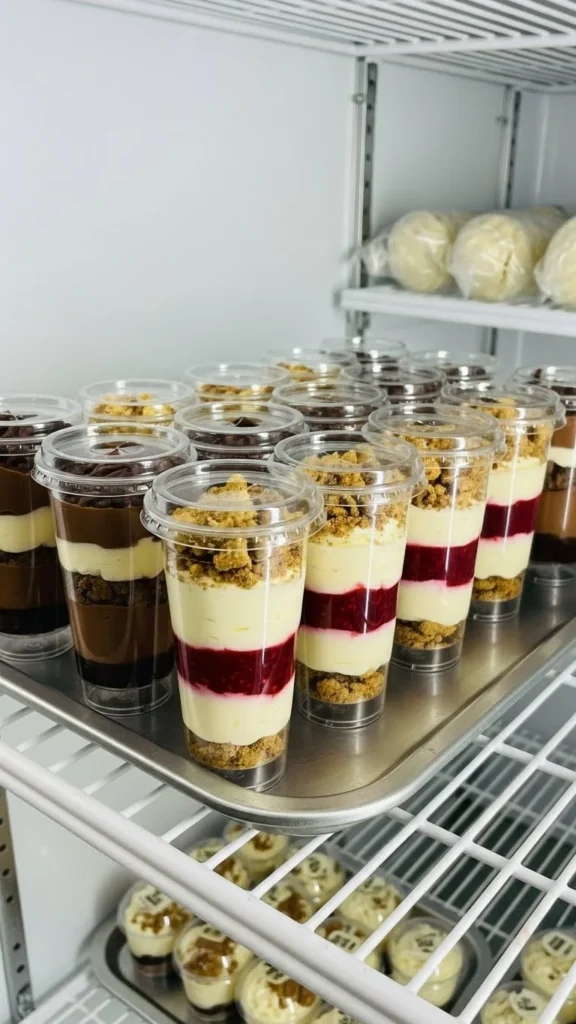
- Plastic shooter cups (2–4 oz)
- Small glass tumblers
- Mini mason jars
- Reusable dessert cups with lids
Helpful tools:
- Piping bags or zip-top bags with the corner snipped
- Small spoons
- Offset spatula (optional but helpful)
Using piping bags keeps layers clean and makes the process faster, especially if you’re making a large batch.
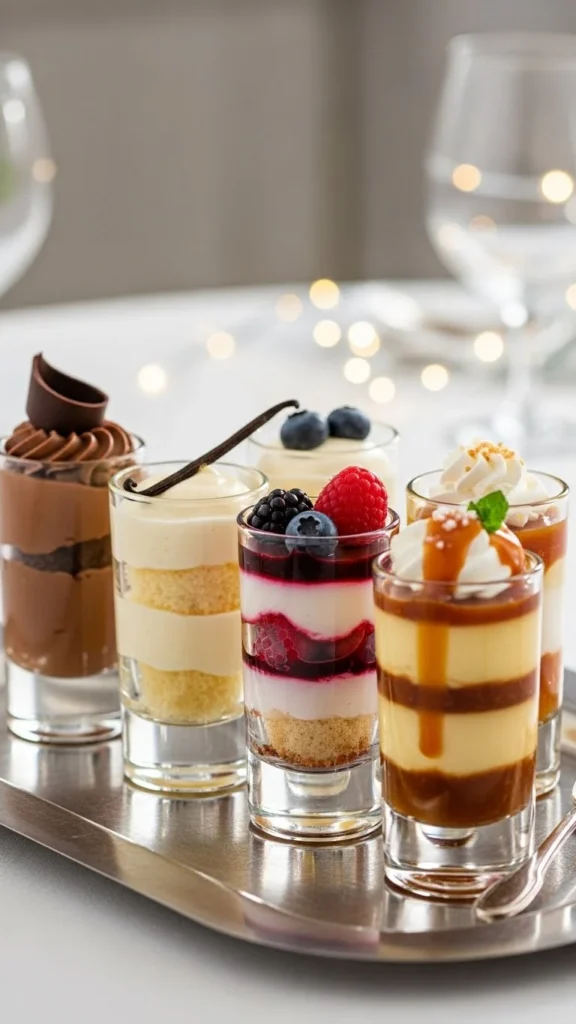
Build the Perfect Dessert Shooter Layers
Every great dessert shooter has balance. Aim for 3–4 layers so they look elegant without becoming messy.
A classic layer formula:
- Base layer (crunchy) – cookie crumbs, brownie bits, crushed graham crackers
- Creamy layer – mousse, pudding, whipped cream, cheesecake filling
- Flavor layer – fruit compote, caramel, chocolate sauce
- Top layer – whipped cream, ganache, or mousse
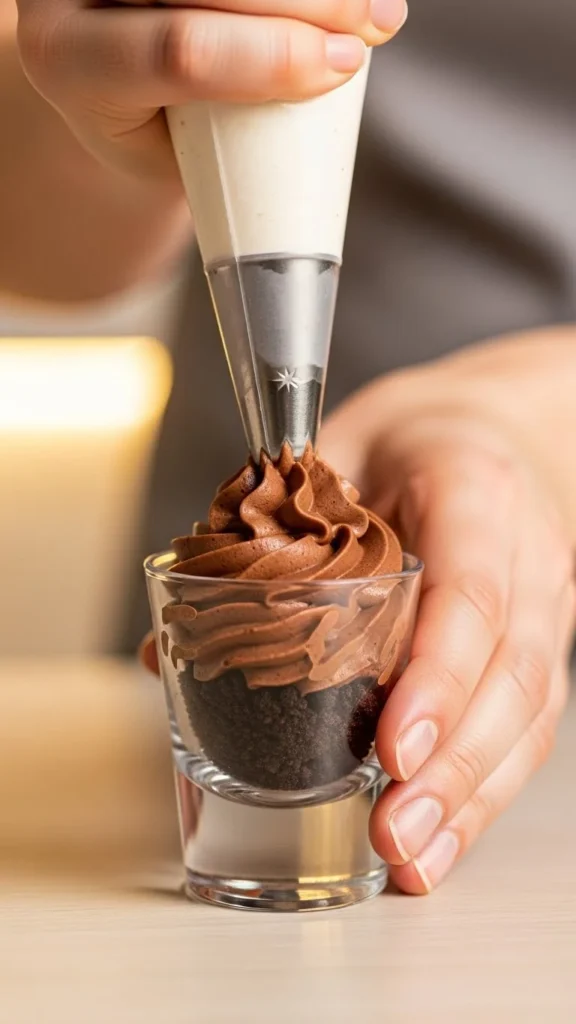
Tips for clean layers:
- Chill soft fillings slightly before piping
- Spoon sauces gently down the side of the cup
- Wipe the inside of cups if spills happen — it makes a big visual difference
Easy Dessert Shooter Flavor Ideas
You don’t need dozens of ingredients. Simple combinations work best and are crowd-pleasers.
Popular flavor combos:
- Chocolate brownie crumbs + chocolate mousse + whipped cream
- Vanilla cake crumbs + cheesecake filling + strawberry compote
- Crushed cookies + vanilla pudding + chocolate drizzle
- Graham cracker crumbs + lemon cream + berry topping
If you’re serving a crowd, make 2–3 flavors instead of many. It keeps prep manageable and still gives guests options.
Make Dessert Shooters Ahead of Time
One of the biggest advantages of dessert shooters is how well they fit into party prep.
Make-ahead tips:
- Prepare shooters up to 24 hours in advance
- Cover tightly with plastic wrap or lids
- Refrigerate until serving
- Add delicate toppings just before serving
Avoid:
- Crunchy toppings added too early (they soften)
- Fresh fruit on top if serving more than a few hours later
This makes dessert shooters ideal for hosts who want less stress on party day.
Garnish for a “Wow” Finish
The garnish is what turns a good shooter into a party-worthy one. Keep it simple but intentional.
Easy garnish ideas:
- Chocolate shavings
- Crushed cookies
- Fresh berries
- A swirl of whipped cream
- Cocoa powder or powdered sugar dusting
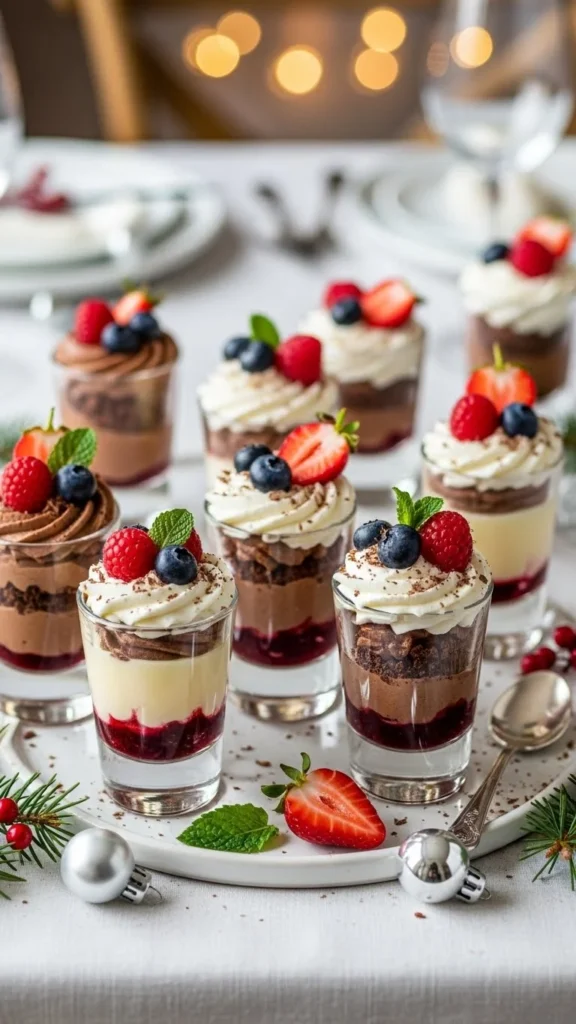
Stick to one garnish per flavor to keep the look clean and cohesive.
How Many Dessert Shooters Per Guest?
For parties, smaller portions are better.
General guideline:
- 1–2 shooters per guest if there are other desserts
- 2–3 shooters per guest if they’re the main dessert
- Smaller cups mean guests can sample more flavors
Always round up — leftover shooters rarely go to waste.
Final Takeaway
Dessert shooters are one of the easiest ways to impress guests without spending hours in the kitchen. With clear cups, balanced layers, and simple flavors, you can create desserts that look stunning and taste even better.
Save this guide for your next party — and don’t be surprised when guests ask for the recipe after the first bite 🍨