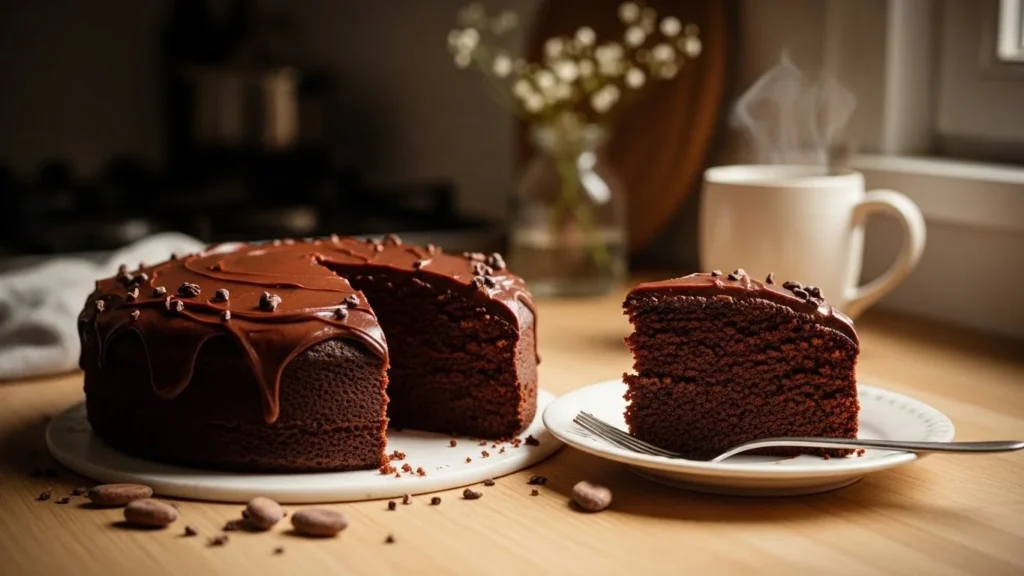
Gluten-free baking has a reputation problem. You’ve probably tasted a cookie that snapped like chalk or a cake that fell apart mid-bite. The good news? Crumbly desserts aren’t a gluten-free destiny—they’re usually a fixable technique issue. With the right ingredients, ratios, and a few smart habits, you can bake treats that slice cleanly, hold together, and still taste amazing.
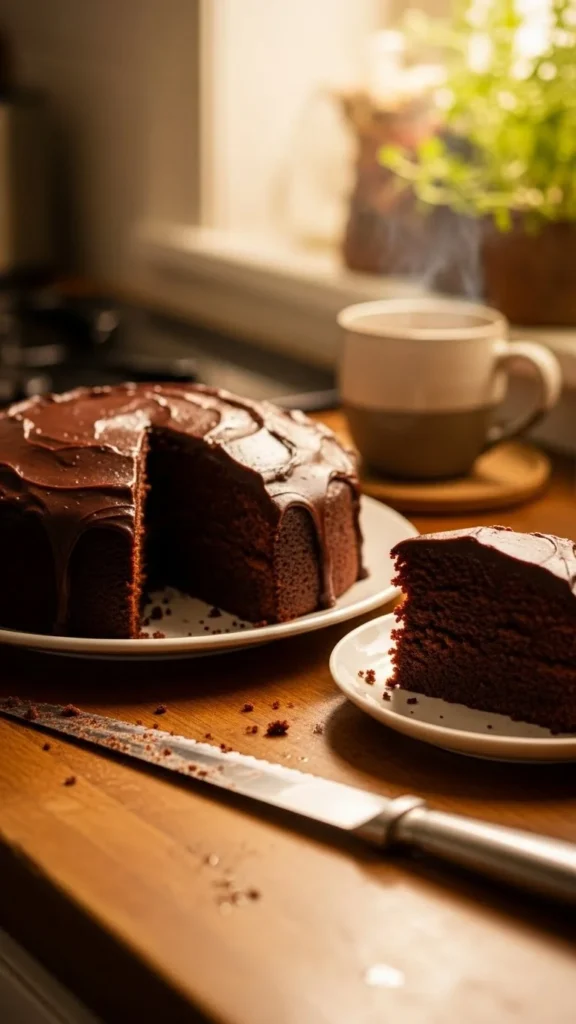
Let’s break down exactly how to make gluten-free desserts that stay soft, sturdy, and crave-worthy.
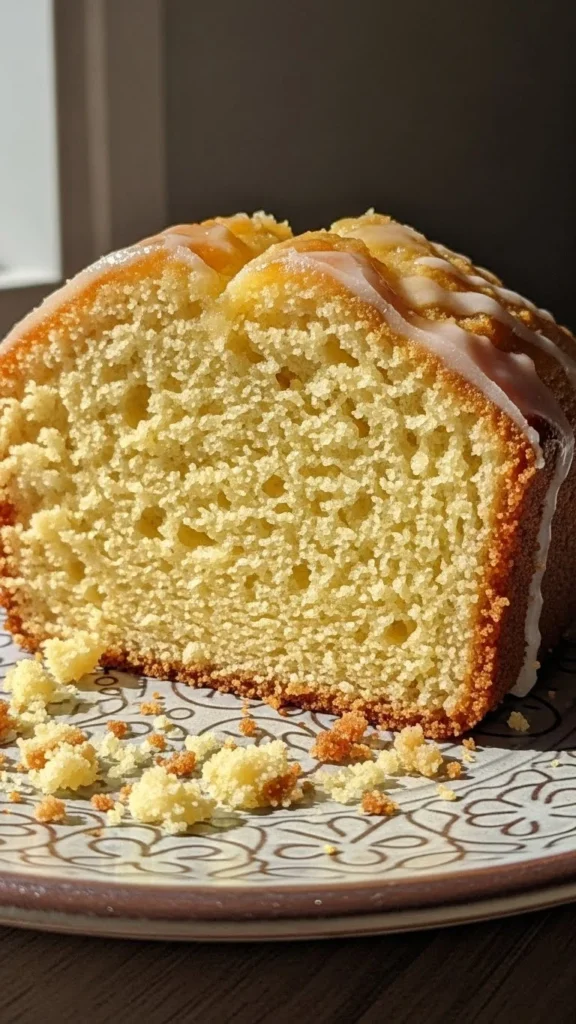
Understand Why Gluten-Free Desserts Crumble
Gluten acts like edible glue. It traps air, adds elasticity, and gives structure. When it’s gone, you have to rebuild that structure on purpose.
Common reasons gluten-free desserts fall apart:
- Too little moisture
- No binding ingredients
- Overbaking (huge culprit)
- Using a single flour instead of a blend
Think of gluten-free baking less like swapping flours and more like building a support system.
Choose the Right Gluten-Free Flour Blend
One flour alone rarely cuts it. The best gluten-free desserts use a blend that mimics gluten’s balance of softness and strength.
Look for blends that include:
- Rice flour (structure)
- Tapioca or potato starch (stretch + chew)
- Sorghum or oat flour (flavor and tenderness)
If mixing your own, try this simple ratio:
- 40% whole-grain gluten-free flour
- 40% starch
- 20% protein-rich flour (like almond or oat)

Quick tip: Avoid 100% coconut flour—it absorbs tons of liquid and can cause instant crumbling if not carefully balanced.
Add Binding Ingredients (This Is Non-Negotiable)
No binders = no structure. These ingredients help your dessert hold together once cooled.
Reliable binders include:
- Eggs (or flax eggs for vegan baking)
- Xanthan gum or guar gum
- Psyllium husk powder
- Greek yogurt or sour cream
General guideline:
- Cakes & muffins: ½–1 teaspoon xanthan gum per cup of flour
- Cookies & bars: slightly less to avoid gumminess
If you’re egg-free, psyllium husk is a secret weapon—it creates elasticity that’s shockingly similar to gluten.
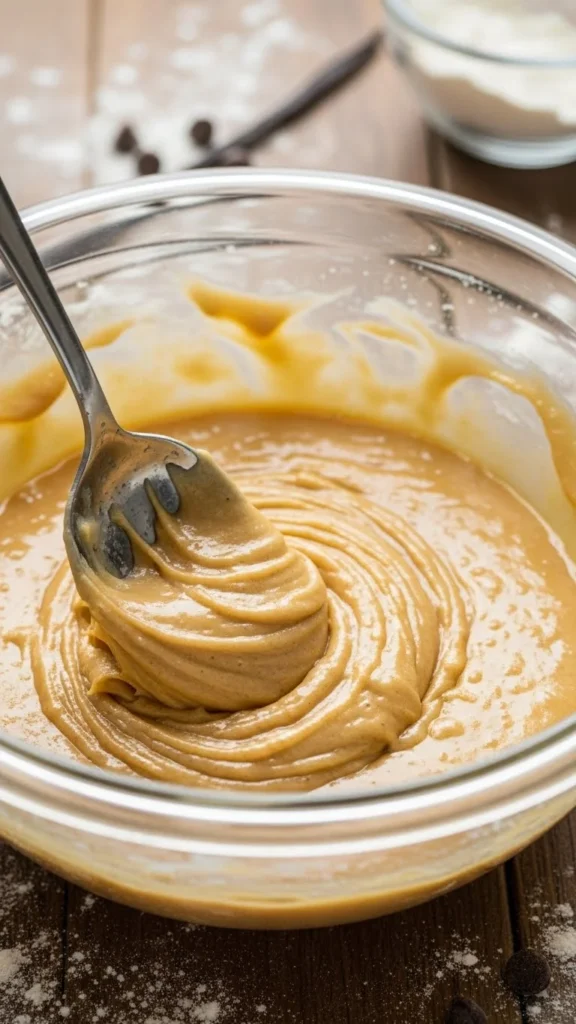
Don’t Be Afraid of Moisture
Dry batter leads to dry results. Gluten-free flours soak up liquid fast, so moisture matters more than ever.
Ways to boost moisture:
- Use oil instead of butter (or a mix)
- Add applesauce, mashed banana, or pumpkin purée
- Swap some milk for yogurt or buttermilk
- Add an extra egg yolk for richness
Your batter should look slightly wetter than traditional batter. If it feels thick and stiff, it’ll likely bake up crumbly.
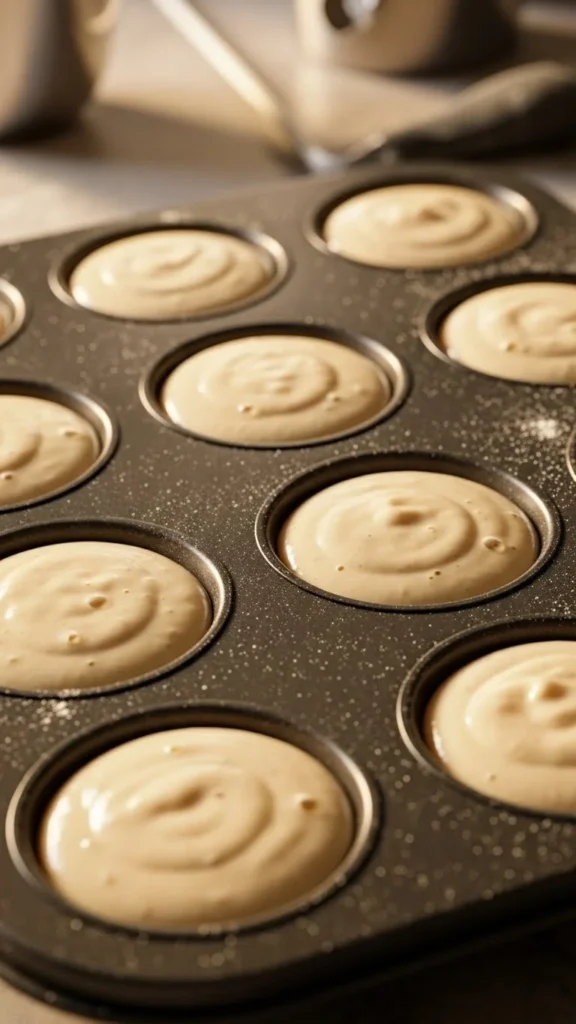
Mix Gently—but Thoroughly
Gluten-free batter doesn’t need aggressive mixing, but it does need even hydration.
Best practice:
- Mix until fully combined
- Scrape the bowl often
- Let batter rest 10–15 minutes before baking
That short rest allows flours to absorb liquid evenly, reducing gritty texture and weak spots.
Bake Lower and Slower
Overbaking dries out gluten-free desserts fast. A few extra minutes can be the difference between tender and crumbly.
Smart baking habits:
- Reduce oven temp by 15–25°F if needed
- Check doneness early
- Use a thermometer (aim for ~200–205°F for cakes)
Pull desserts out when they’re just set. They firm up as they cool.
Cool Completely Before Cutting
This part requires patience—but it’s critical.
Fresh gluten-free bakes are fragile when hot. Cooling allows starches to set and bind fully.
Rules to follow:
- Cool in the pan for 10–15 minutes
- Transfer to a rack
- Slice only when fully cool
If you cut too soon, even a perfect recipe can crumble.
Store Them the Right Way
Improper storage can undo all your hard work.
Best storage tips:
- Wrap tightly to prevent moisture loss
- Refrigerate only if necessary
- Freeze slices for long-term freshness
Many gluten-free desserts taste better the next day once flavors settle and structure firms up.
Final Takeaway
Gluten-free desserts don’t have to be fragile or disappointing. With the right flour blend, proper binders, enough moisture, and a little patience, you can bake treats that slice cleanly and stay together beautifully.