Nothing is more frustrating than baking beautiful cake layers—only to watch them slide, tilt, or dome into a lopsided tower. The good news? Perfectly stacked layer cakes aren’t about fancy tools or professional training. They’re about a few smart habits that make a huge difference. Once you know what to look for, stacking evenly becomes repeatable, calm, and almost effortless.
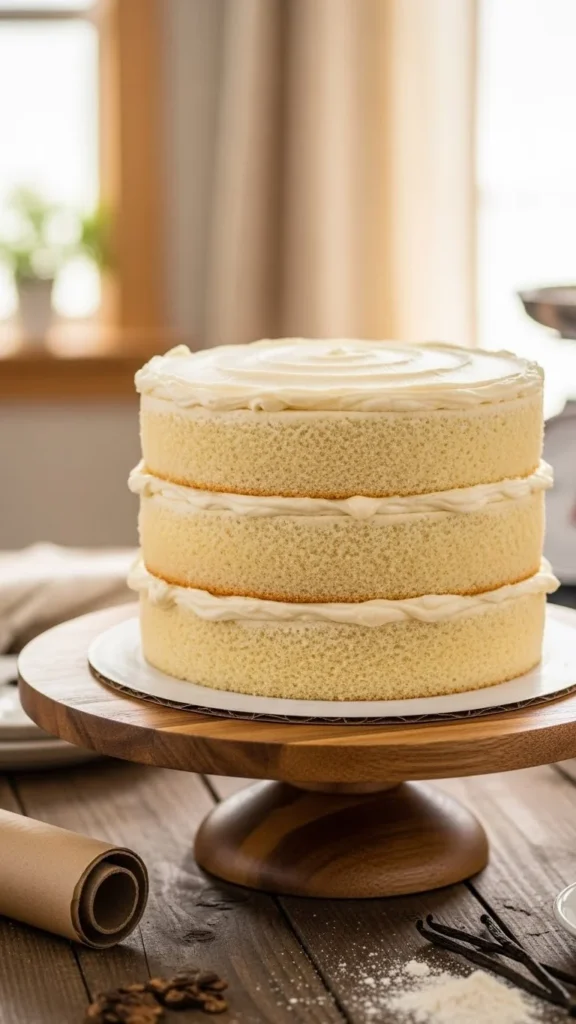
Start With Flat, Even Cake Layers
Even stacking begins before frosting ever enters the picture. Uneven layers are the number-one reason cakes lean.
Tips for flat layers:
- Weigh batter and divide it evenly between pans
- Tap pans gently on the counter to release air bubbles
- Bake on the center rack for consistent heat
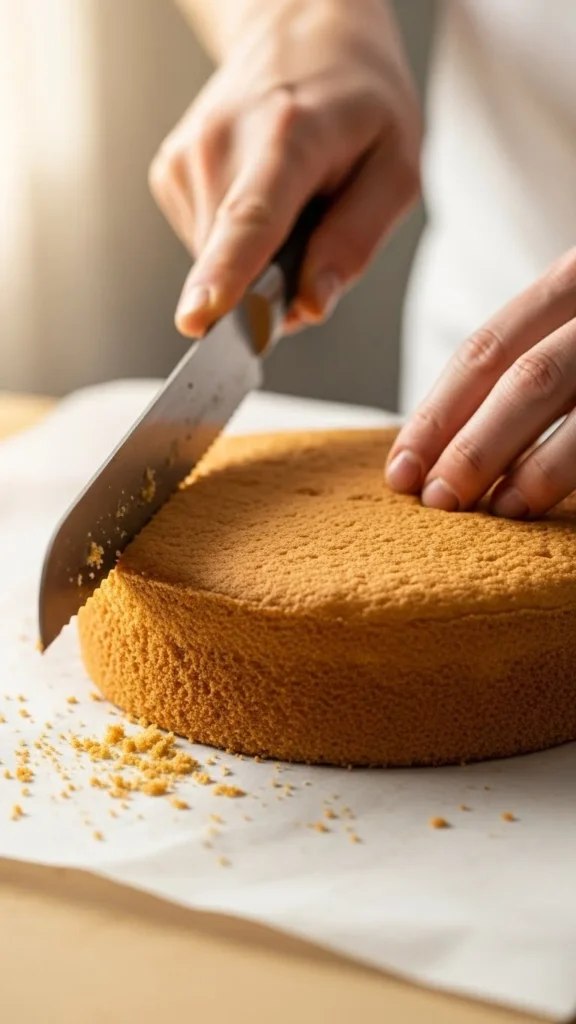
If your cakes still dome, don’t worry—that’s normal. Just let them cool completely, then level them with a serrated knife or cake leveler. Flat tops are non-negotiable for a straight cake.
Chill Your Layers Before Stacking
Warm or soft cake layers are harder to control and more likely to slide. Chilling firms everything up and makes stacking much easier.
Best practice:
- Cool layers fully at room temperature
- Wrap and chill for 30–60 minutes before assembling
Cold cake layers:
- Crumb less
- Hold their shape better
- Stack more cleanly
This single step instantly makes your cake feel more “stable,” even before frosting.
Use the Right Amount of Filling (Less Than You Think)
Overfilling is a silent cake-ruiner. Too much frosting or filling causes layers to shift and bulge outward.
How to get it right:
- Add a thin, even layer of frosting
- Stop about ½ inch from the edge
- Spread gently without pressing down
If you’re using soft fillings like jam or curd, pipe a frosting “dam” around the edge first. This keeps layers from slipping and helps everything stay aligned.
Stack With Gentle Pressure and Alignment Checks
When placing each layer, think steady, not rushed.
Stacking tips:
- Center each layer carefully before pressing
- Gently press down just enough to set it
- Step back and check alignment from all sides
If something looks off, fix it immediately. Cakes are forgiving early on but harder to correct once fully frosted.
Use a Crumb Coat to Lock Everything In
A crumb coat is a thin layer of frosting that seals crumbs and stabilizes the cake before the final finish.
Why it helps:
- Holds layers in place
- Smooths uneven edges
- Creates a strong foundation

After crumb coating, chill the cake again for 15–30 minutes. This sets the structure and makes final frosting much easier.
Choose the Right Frosting Consistency
Frosting that’s too soft can cause layers to slide, while frosting that’s too stiff can pull layers out of alignment.
You want frosting that:
- Holds peaks but spreads smoothly
- Doesn’t sag at room temperature
- Feels creamy, not runny
If needed, chill frosting briefly or whip it again to adjust the texture.
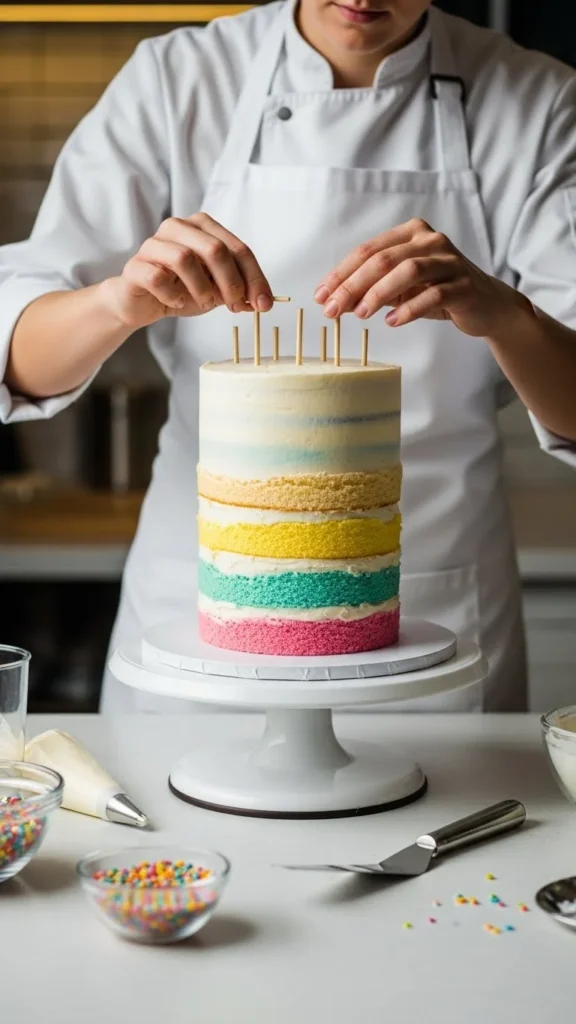
Support Tall Cakes When Needed
For cakes with three or more layers, internal support keeps everything straight.
Simple support options:
- Wooden dowels or cake straws
- One central dowel for extra stability
- Cutting supports flush with cake height
Supports aren’t just for big celebration cakes—they’re great insurance against leaning.
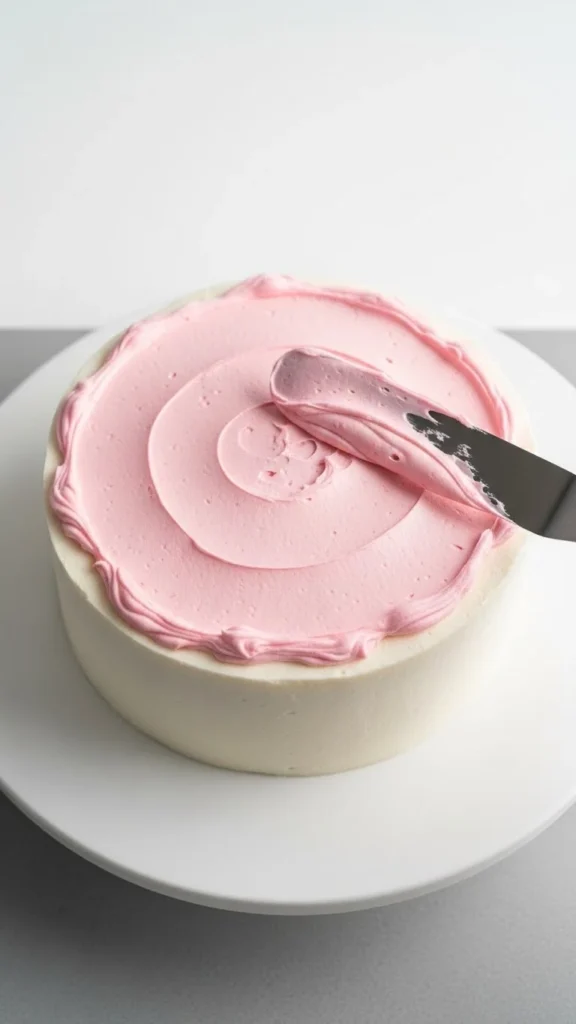
Frost From the Top Down
Always frost the top first, then work your way down the sides. This prevents dragging frosting downward and pulling layers out of place.
Helpful technique:
- Smooth the top completely
- Apply frosting to the sides in sections
- Use light pressure and steady motions
A turntable helps, but slow movement matters more than speed.
Chill Between Steps for Best Results
If your cake starts to feel unstable, stop and chill it. Cold frosting acts like glue and keeps layers exactly where you want them.
Quick chill moments:
- After stacking
- After crumb coating
- Before final smoothing
Professional-looking cakes are often chilled multiple times. That’s normal—and smart.
Final Takeaway
Evenly stacked layer cakes aren’t about perfection—they’re about preparation, patience, and small adjustments. Flat layers, chilled cake, controlled filling, and gentle stacking turn a stressful process into a reliable one.
Save this guide for your next baking day, and enjoy building layer cakes that stand tall, slice cleanly, and look just as good as they taste 🎂✨